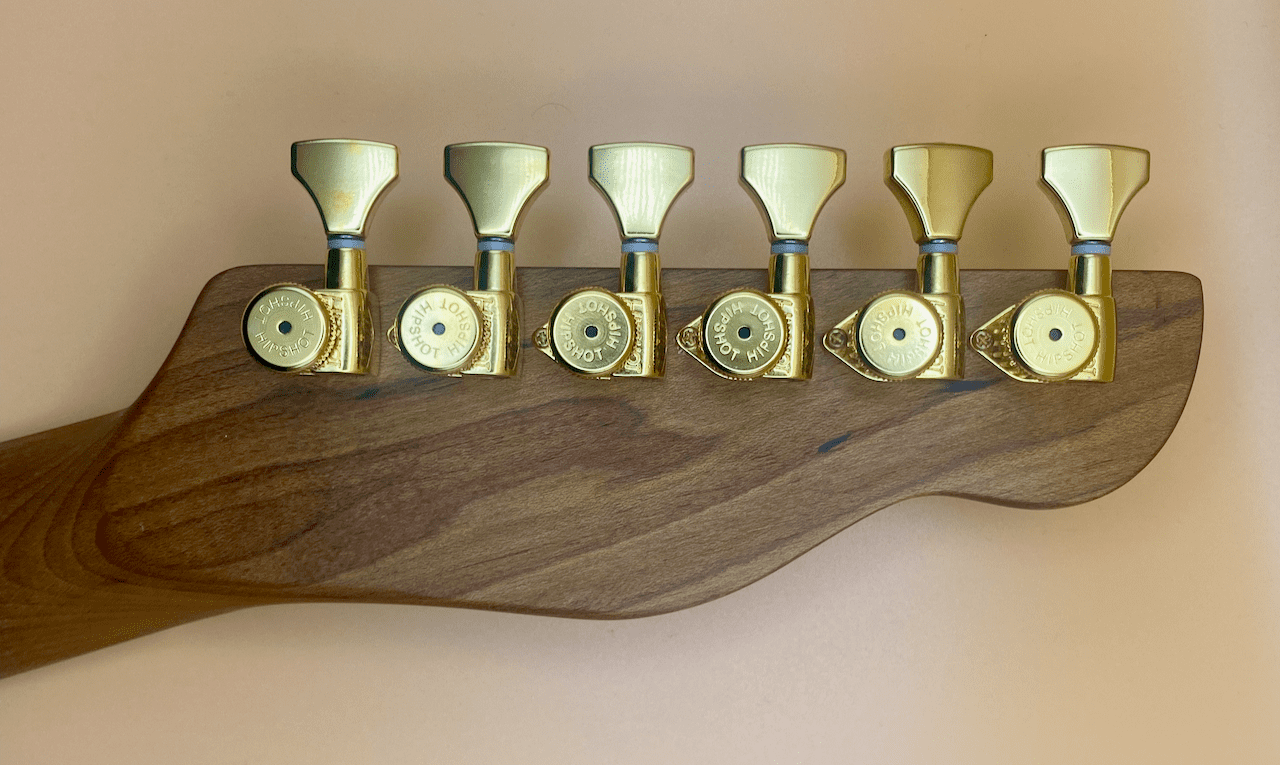
One of the most common upgrades to make to your instrument is upgrading to locking tuners
Locking tuners work by clamping the string in position within the post of the tuner, thereby limiting the need to have as many string winds around the tuner post. In most instances, only half a revolution is sufficient to hold the string in place securely. Limiting the number of string winds reduces the chance of the string slipping, greatly improving tuning stability.
When considering an upgrade of your tuners, there are a few things to bear in mind. Most contemporary tuners all have a shaft diameter of 10mm. The spacing of the holes on the headstock will also be fairly standardised. Only vintage style tuners differ in their hole dimensions and in most cases, the hole spacing will need to be closer together.

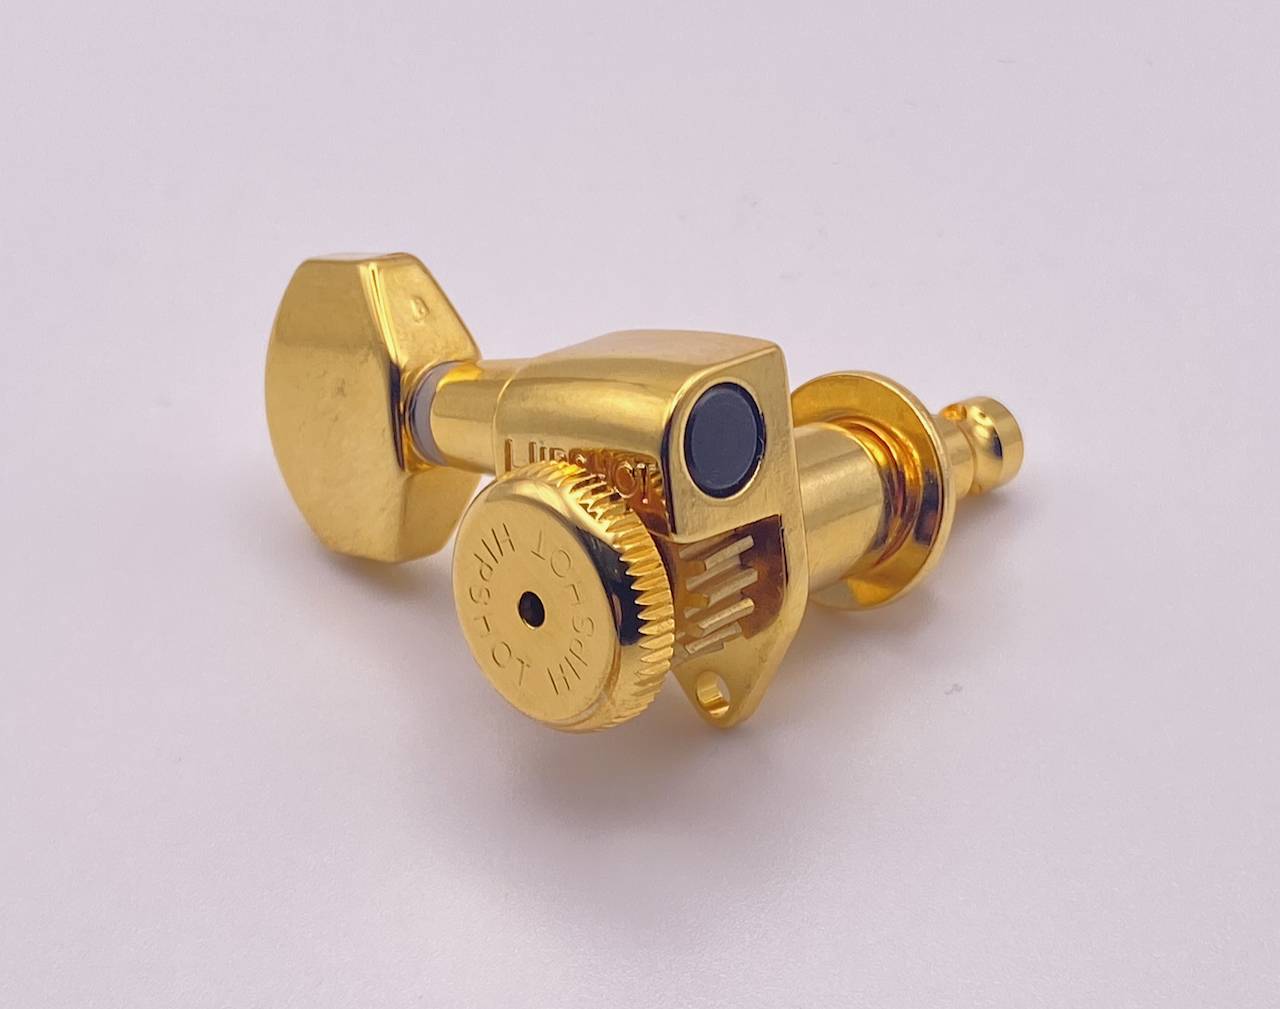
The one difference you need to consider is on the back of the headstock. All tuners have some form or mechanism for holding the casing of the tuner in place. This can either be done by the use of a pin, or sometimes two, mounted within the footprint of the casing or by the use of a small mounting screw fitted through a lug on the side of the casing. The position of this lug has to be considered when planning your upgrade.
If the tuners that you are considering for your upgrade have their lug or pin in a different place to the stock tuners, then you will have to fill the holes left by the original screws.
Depending on whether your headstock is finished with a solid colour or has a clear stained lacquer will determine how you fill and refinish the headstock.
Most tuner manufacturers supply installation instructions with their products, either as a download from their websites or a leaflet with the tuners themselves. Read and follow these instructions carefully. Over-tightening of bolts or forcing tuners into holes that are too small will only damage the units and could damage your guitar.
When the old tuners are removed and any repairs are done to the reverse of the headstock, you can start fitting the new tuners. To get them in the correct alignment, first mount them onto the headstock loosely. Most will use a bolt fitted through the hole from the front that screws into the mechanism. Tighten these up until they are finger-tight. The tuners should stay in position without dropping or rotating in their holes. Final adjustments can be made later.

Replacing your Tuners
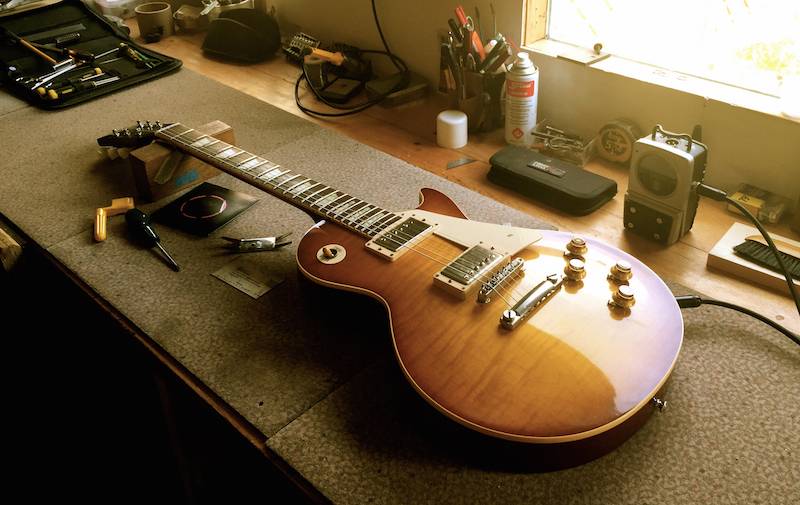
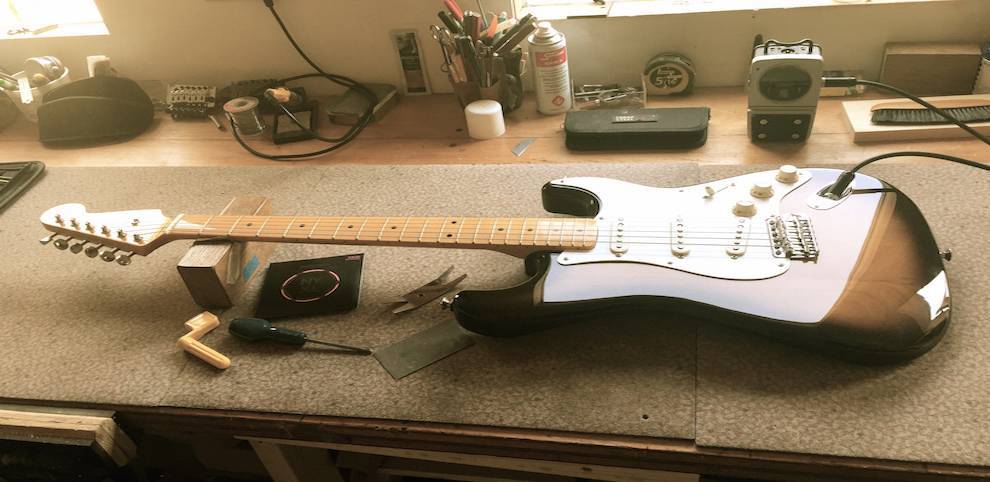
With the guitar laying face down on the workbench, align the tuners. Depending on the configuration, these can be done in a couple of ways. If your tuners are the 6-in-a-line variety, then you can align them by using a straightedge along the inner side of the casing. Visually line them up first. This, after all, is how you’ll tell if they are out of line. Once you are happy with how they look, bring in the straightedge just to fine tune things.
If your tuners are the 3 x 3 variety, then you can sight them in as described above, then use the straightedge across each pair to make sure that they are aligned.
Once you are happy with the position of the tuners, mark the positions of the securing screws. The most accurate way to do this is to you a bradwal. This will mark a point in the exact centre of the lug hole. Once all the holes are marked, remove the tuners. You should find that all the position holes you’ve just made should all be in line.
The size of the drill bit will depend on the size of the supplied screws. Usually, these are fairly small and do not go into the headstock very far. Be carefully not to drill to wide a hole and obviously, make sure you do not drill too deep. You really do not want to get carried away and drill right through your headstock.

With all the holes drilled, you can now start fixing the tuners in place. Work your way down each tuner. I would recommend using a manual screwdriver rather than a electric screwdriver. The screws supplied are small, so the chances of burring over the screw heads can be quite high if you are not careful when fitting the screw. If you burr them over too much they can be a nightmare to try and remove. Start from the tuner furthest away from the nut and work one tuner at a time. This will allow you get get much easier access to the securing lug without the other tuners getting in the way.
When all the tuner screws are fitted correctly, flip the guitar over and lightly tighten the bolts on the front for the final time. These can be tightened with a few different tools, but my preferred choice is a 10mm socket. It fits over the tuner post easily away from the other tuners and the headstock finish. The bolts do not need to be really tight. This can damage both the headstock finish and the tuner casing. Just tighten them up enough that they are not loose, then give them one extra tweak. That should be sufficient.
As part of the usual guitar maintenance routine, I like to double check the bolts while the strings are off the guitar. Loose bolt can effect the tuner operation and the tuning stability of the guitar.

