There is a very underused control on most guitars. A lot of guitarists simply turn it up full and never touch it again. But whether there is one or two of these on your instrument, the guitar tone controls are one of the most important tools that guitarists have at their disposal. They allow you to shape the sound of your guitar to create the perfect tone for any song, venue or genre.
In this blog post, we’ll discuss the different types of guitar tone controls and how they work. We’ll also look at some different ways they can be wired into your guitar. Finally, we’ll also share some tips on how to use them to achieve the desired sound.
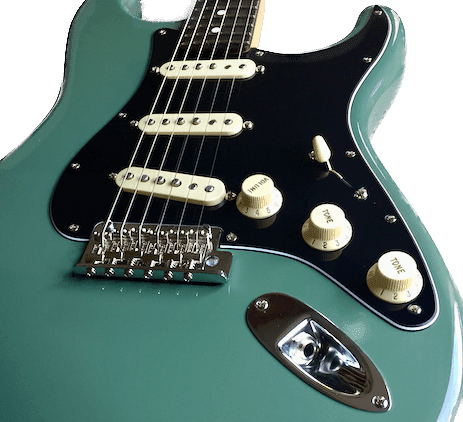
For the whole of this blog post, and throughout the industry as a whole, these controls are referred to as ‘tone’, but if we’re going to get ‘all technical’ about things, they’re actually high-pass filters.
The tone control is used to adjust the high-end frequencies of your guitar sound. Turning the tone control clockwise will make your guitar sound brighter, while turning it counterclockwise will make it sound darker.
From a technical point of view, what this is actually doing is filtering either more or less high frequencies to ground.
The tone control can be used to compensate for the sound of your amp or to create a variety of different tones, such as a clean, bright sound or a dark, bluesy sound.
Tone Control Anatomy
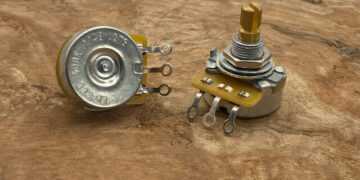
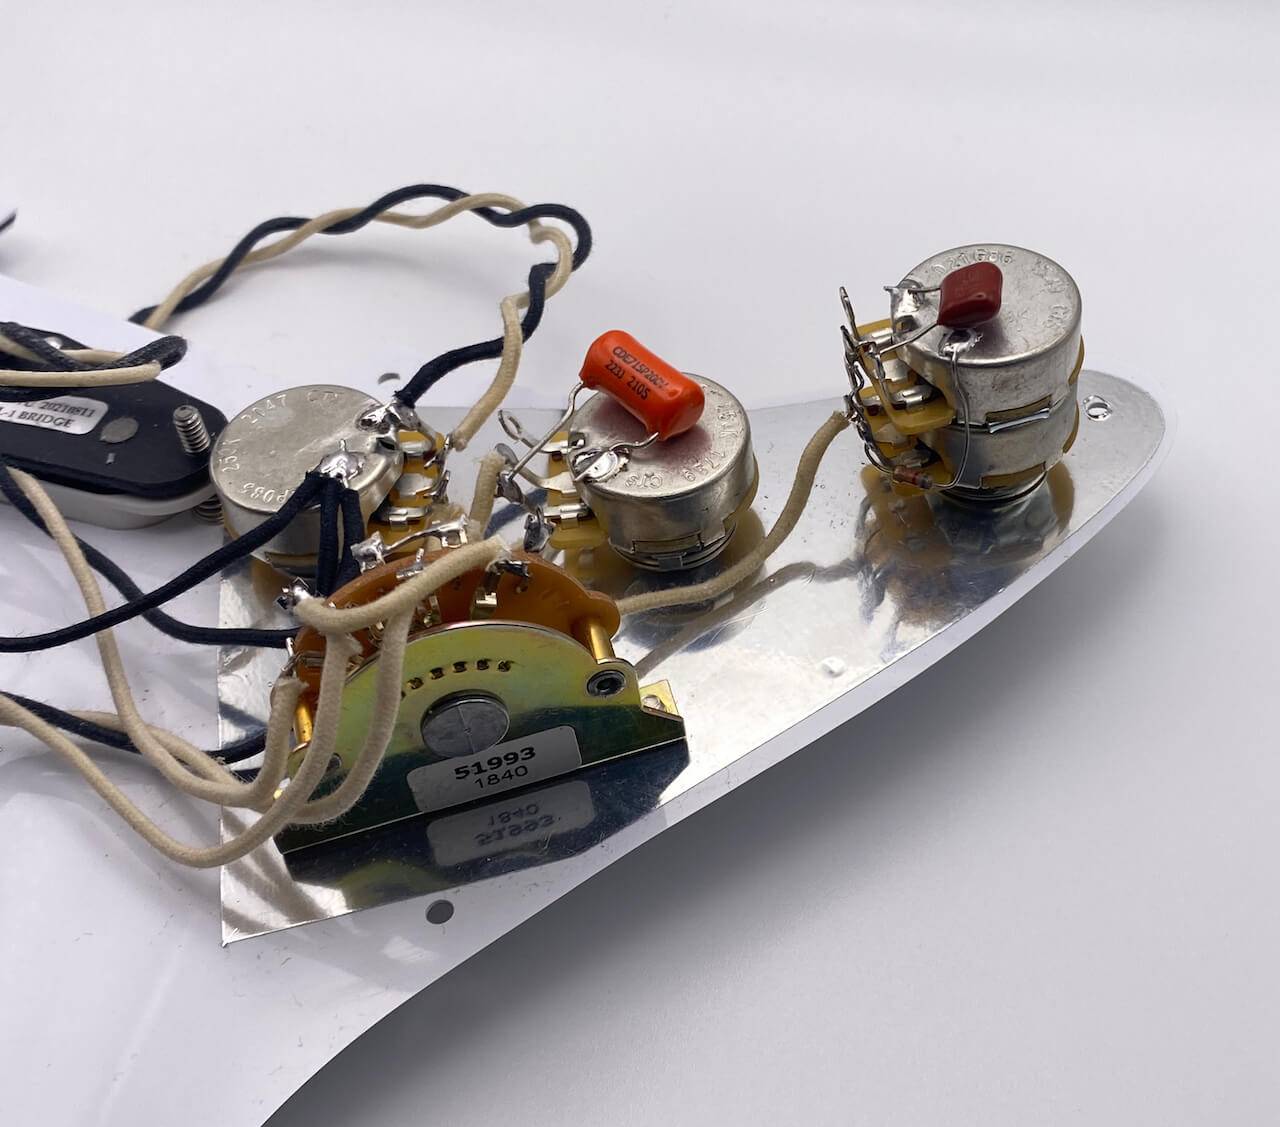
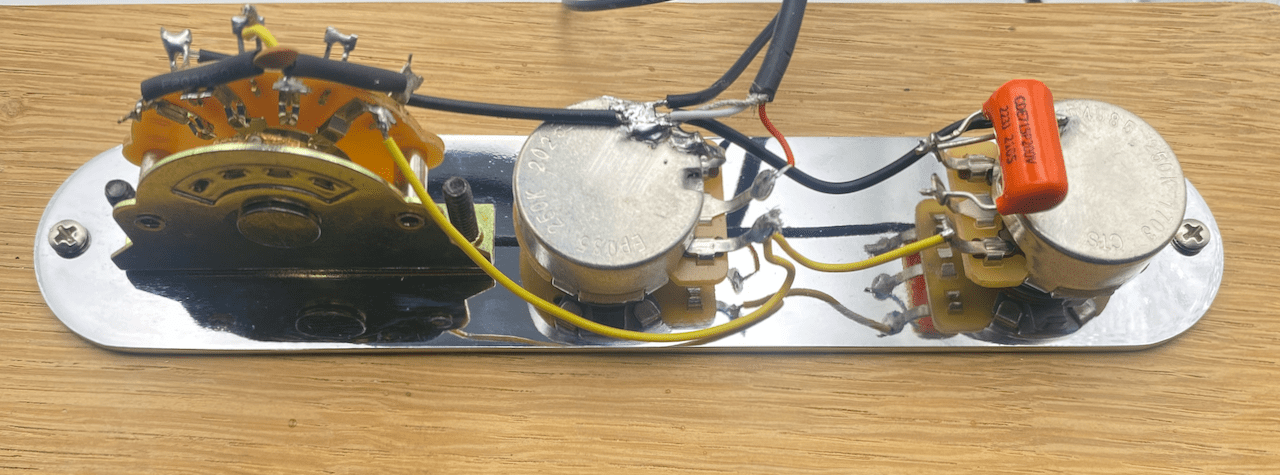
The tone control is fairly straightforward, comprising of a capacitor and a variable resistor (the potentiometer) wired together in either series or parallel.
When the tone control is fully open, the potentiometer has the least resistance. This allows nearly all of the signal to flow through the potentiometer to ground. The capacitor has little to no effect at this point.
As the tone control is rotated the pot’s resistance increases, this is where the capacitor comes into play. The signal starts to pass through the cap, but due to its capacitance (and the way that capacitors work), it only sends part of the signal to ground. The capacitance value determines where the cut-off point of the high frequencies is. The higher this capacitance value, the darker the tone will be.
The Pot
For the purposes of this blog post, we’re going to talk about pots in terms of their resistance. Like any electrical component, there are cheap and expensive versions available. There are also different resistance curves to consider. But for now, let’s keep things simple.
The resistance value of a guitar’s tone control pot affects the amount of high-end frequencies that are passed through the circuit. So the best place to start when deciding which value to use is to look at the pickups in your guitar first.
Generally speaking, if your guitar has single coil pickups, then a lower resistance is advised. 250K ohm is a standard choice. This will allow your guitar to have a brighter sound.
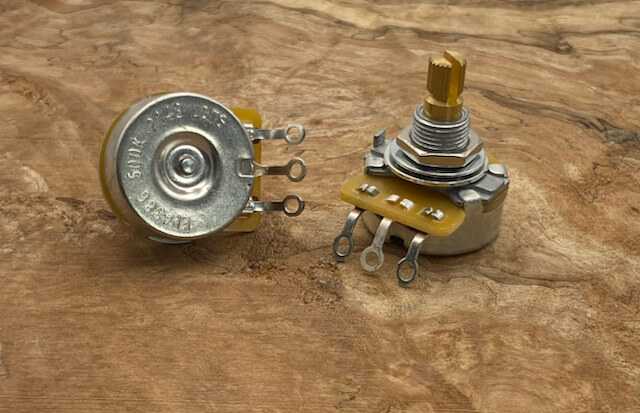
If your guitar is fitted with humbuckers, then a higher resistance would be needed. Your pickup has double the amount of coils, so doubling the resistance is a good place to start. 500K ohm is a standard here. This will allow for a darker more mid-range sound.
These values are by no means set in stone. These values can be adjusted to suit more vintage pickups or higher wound ‘hot rod’ pickups. Sometimes guitars with single-coil pickups are shipped from the factory with a 300K ohm tone pot fitted by mistake. This gives a slightly softer tone to the sound and makes for a unique instrument. All by chance! Jazzmasters for example tend to be fitted with 1M ohm pots. so there is a wide range of resistance values to consider.
Then we get to HSS or HSH guitars.
Or for that matter, any guitar that mixes the types of pickups fitted. This can lead to a compromise with your tone controls. Especially if there is only one in your guitar.
At some point, a compromise needs to be made between your single coils and your humbucker. Depending on whether you choose a 250K ohm or a 500K ohm tone pot, one type of pickup will not sound the way the manufacturer designed it to.
Pickup manufacturers tend to design their pickups to create a certain sound or tonal characteristic when played. They design them with the idea that the pickup will ‘see’ a certain pot value as it sends the signal out to the amplifier. If a pickup now ‘sees’ a higher or lower resistance, then the sound will either be a lot brighter or darker and muddier than intended. This is where the compromise comes in.
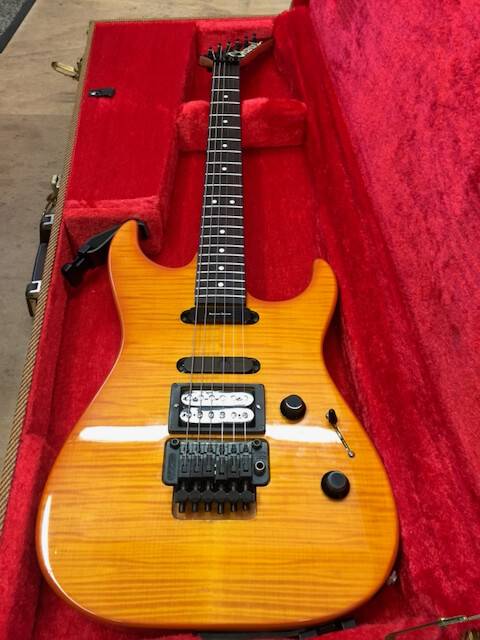
Generally speaking, when guitars with HSS or HSH pickup configurations are designed and produced by a factory, they tend to be fitted with a 500K ohm tone pot, (and for that matter a 500K ohm volume pot as well). This favours the humbucker and darkens the single-coil sound.
This is generally accepted as the way to go, as it means you can push a higher gain setting on your amplifier or run through distortion or overdrive pedals without hitting them with too much high frequencies. It makes things more controllable and allows you to sculpt the sound you are looking for more easily.
Ultimately, the choice of resistance value is a matter of personal preference. Some guitarists prefer a brighter tone, while others prefer a darker tone. This is where you can experiment with different resistance values to find the one that works for you the best.
Tone capacitors - the other half of the equation
A tone capacitor is the other half of the equation used in a guitar’s tone control circuit to filter out high frequencies. The value of the capacitor determines how much high frequency is filtered out, with larger values of capacitance filtering out a greater range of frequencies.
There are many capacitor values that have been used over the years to achieve varying levels of tonal control in various instruments. Just like the pots themselves, the pickups play a big part in which tone cap will be ‘best’ for your guitar.
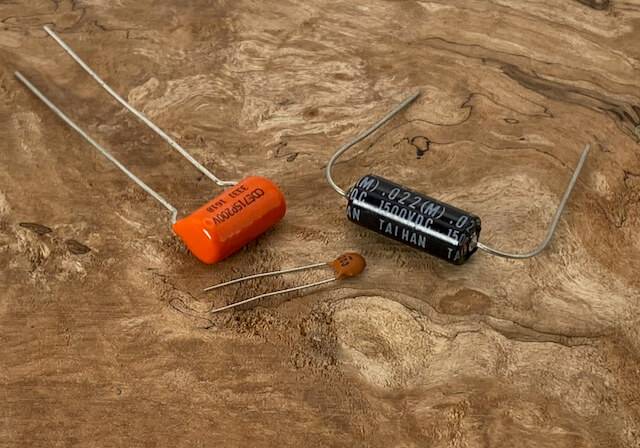
The two standard values you will see most often are 0.022uF and 0.047uF. Generally, the 0.022uF capacitor is used most often for both humbucker and single-coils. But the 0.047uF can be used to single-coils to help roll off some of the higher-end ‘bite’ that comes from some higher wound pickups.
Again, the choice of capacitor value is a matter of personal preference. Some guitarists prefer a brighter tone, while others prefer a darker tone. You can experiment with different capacitor values to find the one that fits best with your style of music or allows you the fullest range of tonal choice without turning things muddy.
Some other commonly used values are 0.1uF, which gives are very dark tone. Caps like this are normally found in Jazzmasters or Jaguars, as their pickups are very bright compared to Stratocaster or Telecaster single-coils. Conversely, 0.01uF caps can be used to allow much more high-frequency through. These have a smaller effect on the tonal characteristic of the guitar but work well for high-output pickups, if that’s the sound you are looking for!
Capacitor material also plays a part in this too. Everything from ceramic disc, to Sprague Orange Drop, to paper in oil, even up to reproduction of NOS Bumblebee or Phonebook caps can be used – but to really delve into all of that might take another blog post!
Bass - where your tone control gets really low
With a lot of modern bass designs, both with passive or active pickups, the bass guitar can have additional tone controls to give the player even more control over the tonal characteristics of their sound. On-board preamps with their own EQ allow bass players to fine-tune exactly what they want out of their instrument.
This is really where the concept of ‘filters’ comes in, rather than just referring to the tone control as a ‘tone knob’.
Bass guitars can have up to three different filters in their wiring design:
High-pass filter
Very similar to a traditional guitar tone control. Also referred to as a Treble control. This control filters the high-frequencies. with the control turned to maximum the sound can end up being too bright and harsh. Adjusting this control takes out the top end to give you a more mellow sound. More traditionally wired basses with only one tone pot will have this control.
Mid-range filter
The midrange control is used to adjust the mid-range frequencies of your guitar sound. The midrange frequencies are responsible for the body and richness of your sound.
Turning the midrange control clockwise will make your guitar sound fuller, while turning it counterclockwise will make it sound thinner.
Low-pass filter
Sometimes referred to as the bass control, this is used to adjust the low-end frequencies of your sound. Turning the bass control clockwise will make your bass sound boomier, allowing much more low frequencies to pass through. Turning it counterclockwise will make it sound thinner, removing some of the lowest frequencies and allowing more of the mid-range to be heard.
The bass control can be used to compensate for the sound of your amp. it is also very useful for creating a variety of different tones, such as a deep, bassy sound or a clean, bright sound.
OK, that’s the science behind all this out of the way. Time to look at some wiring.
4 ways to wire your tone pot
While there are various ‘mod’ methods of wiring a tone pot into your guitar, some of which are discussed on this site, we will look at the standard or ‘factory’ ways that these components have been installed. This has changed over the years for various reasons. The important thing to note is that how the tone control is wired can greatly affect how it works and its overall effect on your sound.
Here, we’ll look at four main types. Starting with what is referred to as the 50’s wiring, moving on through 60’s wiring, to what is currently referred to as ‘modern’ wiring. We will also look at the slight variation that modern mass-production guitars tend to have as well.
We’ll look at the benefits and drawbacks of each and hopefully give you enough information to guide you in your wiring choice.
'50s Wiring
This vintage and some might say ‘legendary’ wiring has a few little tricks that make it unique compared to the other tone control configurations. First, let’s talk about the pot itself. The tone control is grounded via the middle lug. This configuration massively improves the signal-to-noise ratio. With the middle lug connected to ground, the shielding of the pot is improved. Any electromagnetic interference that gets into the control cavity (even if your cavity is shielded) can be picked up by the tone pot’s spare, unused lug. This puts an unwanted signal on one side of the middle lug, or as far as the pot is concerned, the wiper. Leading to bleed-off interference into the main guitar signal. With the middle lug grounded, this problem almost entirely goes away.
Wiring principles like this came directly from the telecommunications industry. When tube (valve) amplifiers were being manufactured this technique was used a lot to keep interference to a minimum.
When guitar technicians and designers first started designing wiring looms for electric guitars they used the same principles that they already knew worked.
If that wasn’t an awesome enough reason why the 50s wiring is worth trying, the position of the tone control pot in the circuit is also different. The tone control is positioned after the volume pot in the circuit, connecting to the output of the volume pot rather than the input. The beauty of this configuration comes when you turn the volume pot down. The tone pot uncouples from the volume pot. Making the tone pot act more smoothly than in modern wiring, giving a more open feel to the sound. The treble loss that normally happens when a volume is lowered is greatly reduced. The bass and mid frequencies seem fuller because the resonance transmitted through the circuit isn’t affected so much. The easiest example of this is Eric Clapton’s famous “woman tone”. You’ll know it when you hear it.

'60s Wiring
The connections made to the volume pot in the ’60s wiring are slightly different when it comes to its connection to the volume pot. The tone control is connected to the input of the volume pot, rather than the output. This puts the tone control pot electrically in front of the volume pot in the circuit.
You still get all the shielding benefits of the 50’s tone pot and capacitor configuration but the difference in its connection to the volume pot gives you?

Modern Wiring
The modern, or ‘standard’ tone pot wiring is electrically the same as the 60’s wiring but the shielding characteristics aren’t as good. With the tone pot connected to the input of the volume pot, you will find that a lot of the treble signal is lost as the volume pot is turned down. The most common solution to bring the treble signal back and to give you a more even volume drop is to add a treble bleed circuit between the input and output lugs of the volume pot.

Mass Production Wiring
Even though modern wiring is often referred to as ‘standard’, you will probably see this configuration of wiring in the vast majority of guitars on the market.
The mass production wiring moves the tone capacitor from between the volume and tone pots and connects it directly to the tone pot. From the outer lug to the casing of the tone pot itself. Because the capacitor and potentiometer are wired in parallel it doesn’t matter too much which order they are in. Wiring the two components in this configuration allows mass manufacturers to take advantage of batch production methods. The tone pots can be prepared ahead of the installation and in some cases ahead of the wiring loom itself being manufactured.
All an engineer has to do is pick a ready-assembled tone control out of one parts bin, and a ready-assembled volume pot out of another. Join them together with a wire (probably a shielded wire) and that’s your basic volume/tone configuration wired. When you add a selector switch and a jack socket and the entire loom is complete. This created a system that produces a large amount of wiring looms quickly and allows third-party factories to focus on simply making the looms, while the main factory can just drop the loom into the guitar and connect the pickups.
While they are generally acceptable for the vast majority of guitar wiring looms, as you can see from the other examples, some areas can be improved if you take the time.

So there you have it. The anatomy of your tone control pot and 4 different ways to wire them into your instrument. The tone control can have a huge effect on the sound of your pickups, but also the components themselves can vastly change the effectiveness too.
Experiment with different configurations and see and hear what the differences are for yourself. A relatively simple change like this could unlock a whole lot more potential from your guitar.
If you’d like any more information about how to wire some of these tone modifications into your guitar or, if you’re in the UK, you would like to book your guitar for a service, go to our sister site PCJ Custom Guitars.

