Setting up your guitar is one of those basic skills that everyone should be able to do. There are hundreds of examples of ‘setup guides’ for all types of guitar. From Acoustic to Electric, 6 string hardtail to baritone and Floyd. Standard tuned to double drop tuned. All manner of variations for different styles of instrument, player and music. But when you break it all down it falls into what we call the “Goldilocks Setup’.
…at its heart, a guitar setup needs to ‘feel right’.
The Goldilocks Setup basically refers to the point where mathematical measuring and quantifiable calculations meet ‘feel’. Whatever instrument you play, it’s an incredibly tactile thing. Moving past things like tuning stability and ergonomic design, at its heart a guitar needs to ‘feel right’. Both in the way it feels to hold it, but also what it feels like to play. The mathematical method really does work, especially if you have a lot of the same model of guitar and you want to replicate the setup across all of them. But to give you an example; in the room I’m currently writing this, there are two Fender Strats and a Telecaster. One Strat has it’s trem floating, the other has it flat to the body. All three are setup slightly different, but they all feel the same to play. That’s because I started with the mathematical method, then adjusted by feel. In the same way, it’s possible to setup two guitars with different scale lengths and different string gauges to feel the same while playing. This ability to setup a guitar with this ‘Goldilocks setup’ means that whatever guitar you setup, you can get the same results – a great feeling and playing guitar.
Let’s start with the mathematical side of things. For this example, we’re going to use a 25.5” Strat style guitar. At this point it could be a hardtail or be fitted with a trem. We’re also going to go with a standard 10-46 gauge set of strings. If you plan to change string gauge, you may need to adjust the specs somewhat to compensate for the changes in string sizes. More ‘feel- based’ modifications may need to be made to adjust for individual playing style etc. If you are a heavy or light picker of example
Tools of the Trade
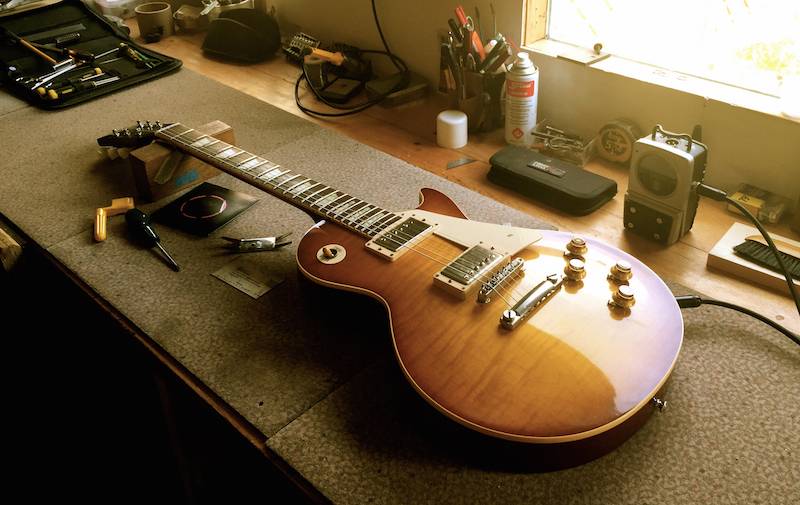
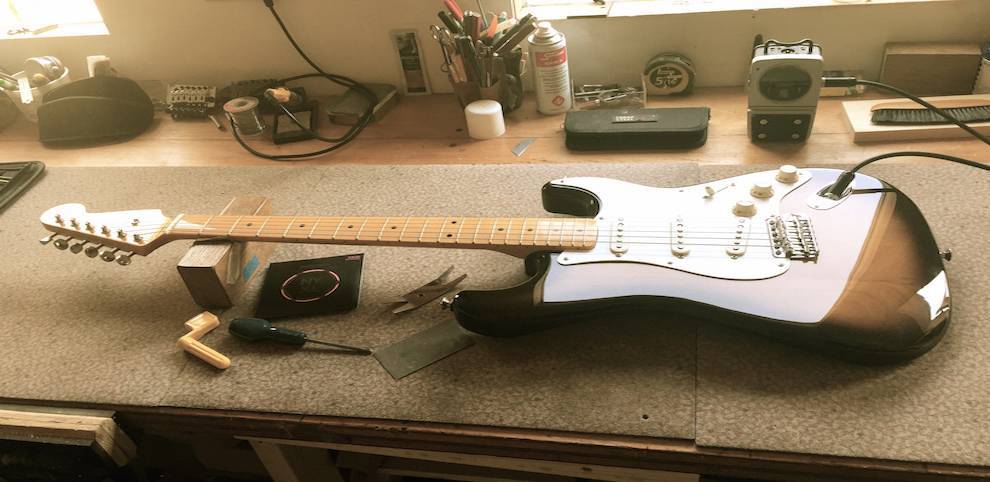
You can do a really thorough setup on a guitar with only a few tools. Unless you are setting up lots of guitar all the time and it’s part of your job, you don’t need to spend lots of cash of specific tools. But there are some that you will need.
- Phillips screwdriver: I’ve found that a PH1 Philips screwdriver will fit something like 90% of all the screws on a modern guitar. Tuner screws might need something a little smaller. Adjusting neck bolts might need something beefier.
- Electronic tuner: While you could do this with a headstock tuner, by far the more accurate way is to use a trusty chromatic tuner.
- Wire cutters: For cutting strings. This will need to be good quality so that they keep their edge and can handle cutting low bass strings without needing to be replaced every few years.
- String winder: Whether this is a cracked handle winder or an attachment for a small battery driver. Just get one…. (ask anyone who’s restrung a doubleneck, they’ll explain!)
- Polish and cloth: If you take pride in your guitar, you’ll want to keep it clean.
The Setup Process
The first thing you should do before setting up your guitar is to change the strings.When a set of strings reaches the end of its useful life, showing signs of dirt, rust or oxidisation, it’s time to change your strings. You will also hear that the string will sound duller, with less treble response. If you need any tips on changing string, read our string changing guide.
When removing the strings on a tune-o-matic style bridges, take extra care because unless your guitar is fitted with something like the TonePros parts, both the bridge and stop tail piece are loose once the string tension is released.
Before you really get into the setup process, make sure to stretch your strings properly. After you’ve installed and tuned your new set, hold the strings at the first fret and hook your fingers under each string, one at a time and tug lightly, moving your hand from the bridge to the neck. Re-tune and repeat several times. There are a few different methods of how to do this, but the main point is to give the strings an initial stretch so that they stabilise and stay in tune. With your guitar now fully in tune it time to look at the strings relationship with the rest of the guitar.

Truss Rod Adjustment
Now that you’ve got new strings on the guitar it’s time to check a few measurements. Firstly, let’s look at the Truss Rod. Truss rods can be split into two different categories; standard and dual action, or ‘bi-flex’ truss rods.
The standard truss rod can counteract a concave bow in a neck (in other words, too much relief), caused by excessive string tension.
A dual action or bi-flex truss rod can compensate concave or convex (over-bowed) curvature by generating a correcting force in either direction as needed.
There are a few other things to think about regarding truss rods. The position of the truss rod nut and the tool needed to do the job. But for now, let’s just refer to these options as ‘adjust at the headstock’, and ‘adjust and the heel’.
Checking the neck relief
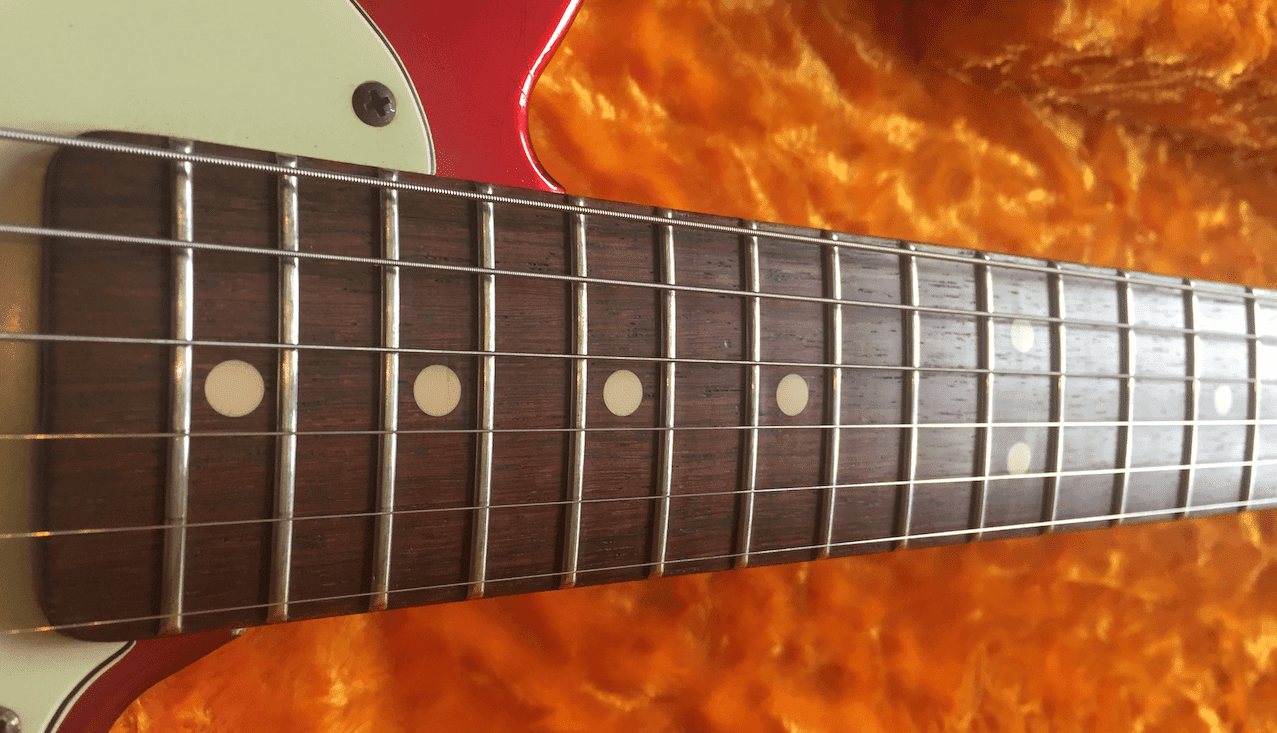
First, check the tuning. Affix a capo at the first fret and depress the sixth string at the last fret. With a feeler gauge, check the gap between the bottom of the string and top of the 8th fret
| Neck Radius | Relief |
| 7.25″ | .012″ (0.3 mm) |
| 9.5″ to 12″ | 010″ (0.25 mm) |
| 15″ to 17″ | .008″ (0.2 mm) |

Sighting the neck
Another way of seeing the relief on your neck is to sight it. Rest the guitar body on a stable surface. A work bench, table, or chair. Somewhere it wont fall off. Hold the guitar by the headstock and look down the neck from the headstock to the body of the guitar. Look down both edges of the neck and you should see the slight bow in the neck. The strings will give you a straight line to compare. You might find that the bass side looks like is has more of a bow than the treble side. This is nothing to worry about. The bass strings put more tension on that side of the neck. There is a point where this becomes a problem, If you started to get issues with the guitar’s intonation or you find that the notes on the treble side choke out even after adjustment, you may need to take your instrument to a guitar tech and they can check to see if your neck is twisted. In cases like this, adjusting the truss rod will not help, you could actually do more damage.
**Disclaimer **
Do This Gently!!! only a quarter of a turn at a time. Rotating the truss rod too much can damage the neck and make your guitar unplayable. If you are not confident doing this, take it to a professional.
You have been warned!
Adjustment at headstock (Allen wrench, normal 4mm): Sight down the edge of the fingerboard from behind the headstock, looking toward the body of the instrument. If the neck is to concave (action too high), turn the truss rod nut clockwise to remove excess relief. If the neck is too convex (strings too close to the fingerboard), turn the truss rod nut counter-clockwise to allow the string tension to pull more relief into the neck. Check your tuning, then re-check the gap with the feeler gauge and re-adjust as needed.
Adjustment at neck joint (Flat screwdriver): Sight down the edge of the fingerboard from behind the body, looking up toward the headstock of the instrument. If the neck is too concave (action too high), turn the truss rod nut clockwise to remove excess relief. If the neck is too convex (strings too close to the fingerboard), turn the truss r nut counter-clockwise to allow the string tension to pull more relief into the neck. Check your tuning, then re-check the gap with the feeler gauge and re-adjust as need.
String Action
String action is a very personal thing. The measurements used by many companies to set up their guitars is purely there as a benchmark. It’s the ‘Goldilocks Theory’; not too high that the strings are hard to press down, but not too low that you get fret buzz.
Of course, this all changes when you change strings to a different gauge or lower the tuning.
As a player, what you need to find is the string action that is right ‘for you’. It’s all about feel. These numbers are a good starting point. It’s worth spending some time changing the action just to see if you prefer it. Planning these changes correctly and taking the measurements of the string height before you start, means you can always go back to that height you started with if you are not comfortable with the change.
- After each quarter turn, allow the woods in the neck to adjust to the new tension level.
- Retune the strings and let everything sit for a few minutes.
- Check the neck relief again.
- If the gap is still not as you would like it, repeat the process, retuning after each adjustment.
- Once you are happy with the neck relief, move on to adjusting the string height.

