Fitting Dunlop Straplocks to your guitar is one of the easiest ways to protect your instrument from accidental damage. While there are lots of variations of the strap lock system made by various manufacturers currently on the market, they all rely on using a second part which is fitted to the strap. We’ve found that the Dunlop Dual Design models are the most useful. Mainly because they can also be used with a standard guitar strap as well as with a strap fitted with the second half of the strap lock system. This gives them a level of versatility that other brands simply don’t have. Everyone forgets to pack a strap for a gig once inter playing life. With the Dunlop Straplock system, you will at least be able to get through the gig if you can borrow a standard strap from a bandmate.
Fitting your Dunlop® Straplocks to your guitar
- Place your guitar on a flat, stable work surface. Make sure that there is nothing that can damage the finish underneath the guitar.
- Put the electric screwdriver away! It is far too easy to strip the screw head with an electric screwdriver. For this job, you will only need a normal crosshead screwdriver.
- Remove the existing strap buttons. Inside the end of the strap button, you will find the screw head. Remove this screw and put it to one side along with the button. There may also be a felt washer under the button. This can be removed as well.
- Check the screw sizes. Double-check that the old screw you have just removed is the same size as the new screw you are about to use. If you find that the new screw is longer then you may need to drill the hole a little deeper.
- You can test fit the screw by screwing it into your guitar without the button attached. If you find that the screw hole is quite loose then you might have to pack the hole to make sure that the new screw holds tightly.
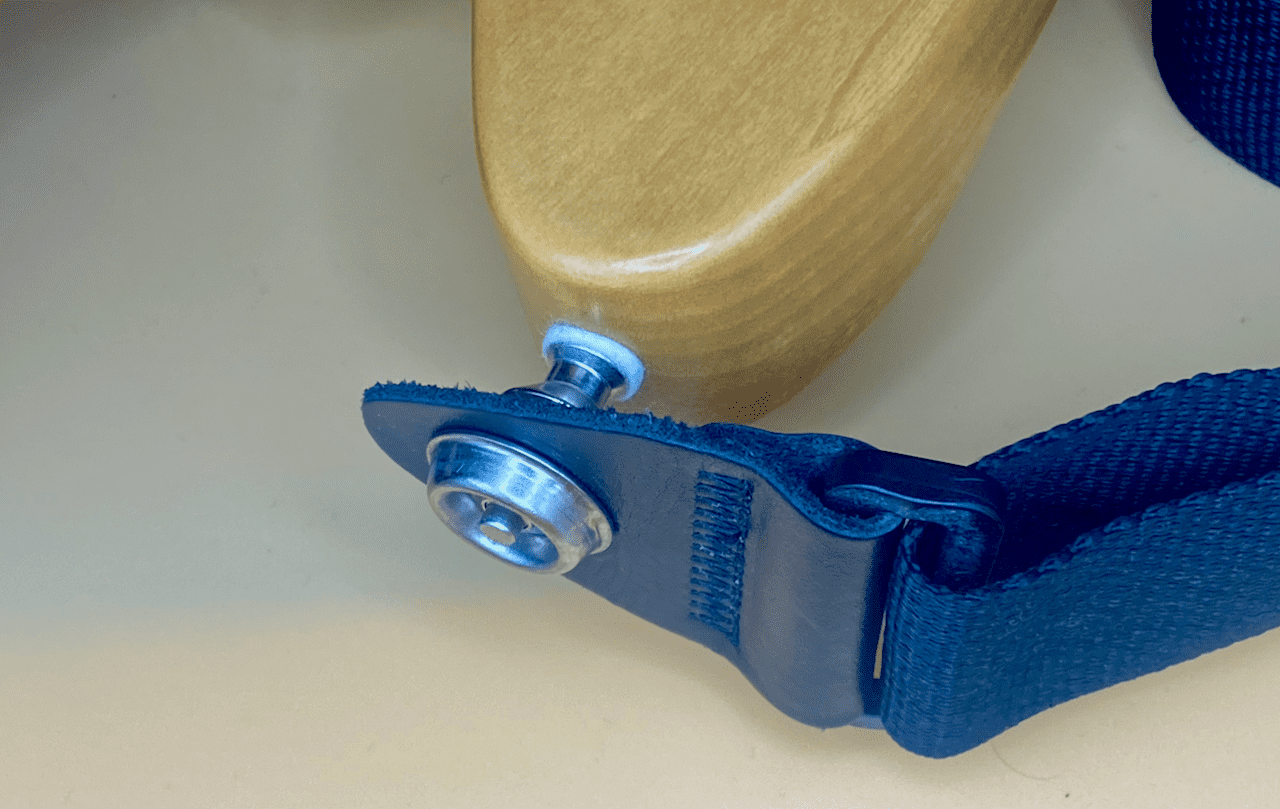
- Once you are happy that the screw will fit into the hole correctly, fit the screw through the new strap button and fit the new protective felt washer onto the end of the screw. You can now line the screw up with the hole and fit the new strap button. Tighten the screw until the strap button is tight against the guitar’s body.
- Repeat this process with the second strap button.
Attaching the Straplock to your strap
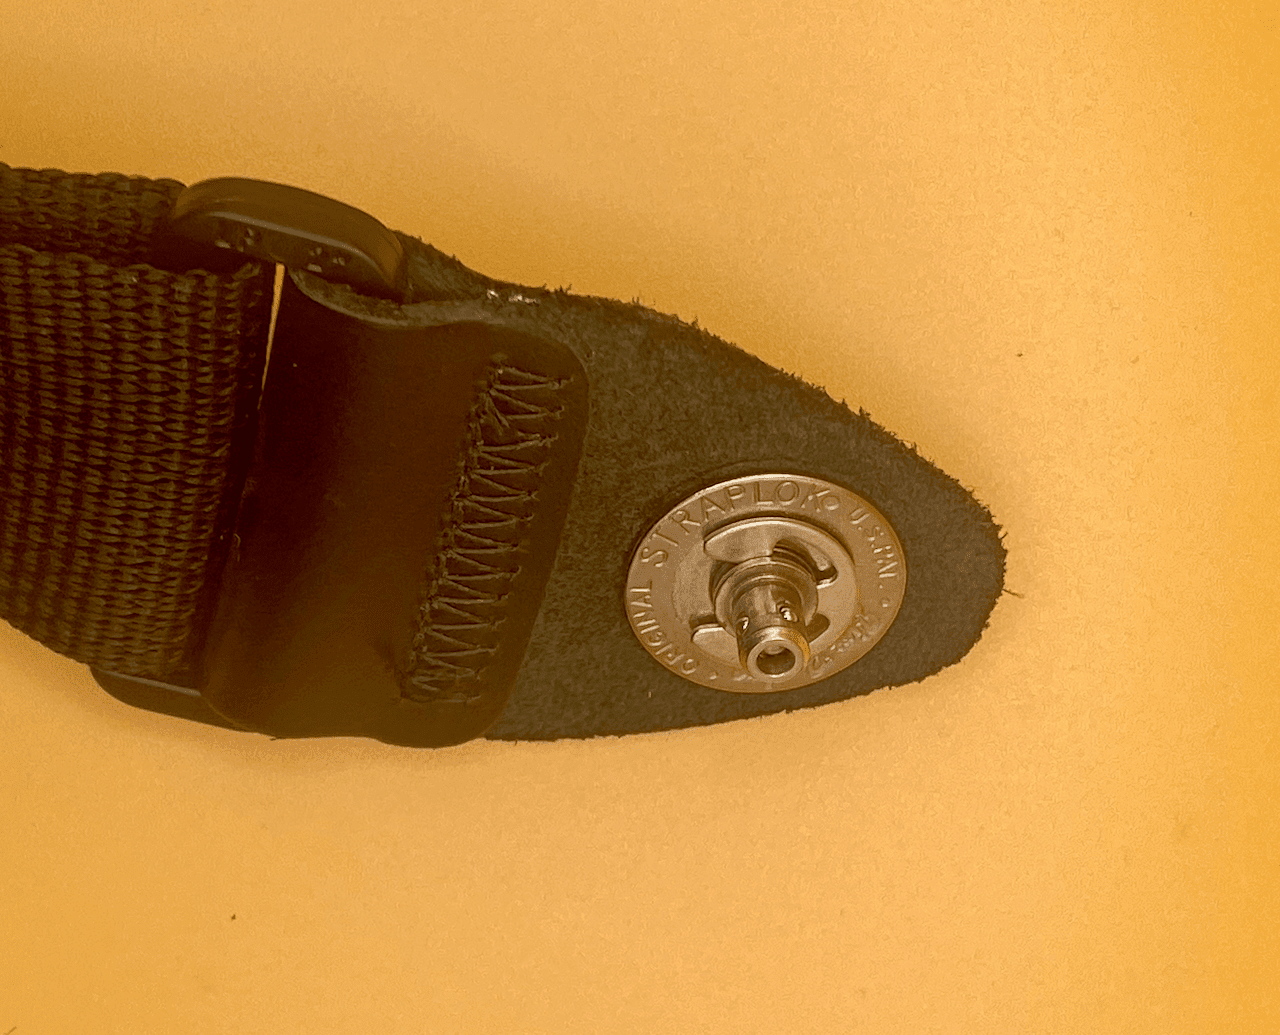
- First, you may need to remove the locking nuts and washer from the lock section.
- Insert the threaded barrel of the lock section through the hole in one end of your strap from the inside of the strap to the outside.
- The lock section is U-shaped, so make sure that the open part of the U faces the middle of the strap.
- Place the washer and locking nut back onto the threaded barrel and tighten the nut. this can normally be tightened with a 13mm wrench or socket to secure the nut tightly.
- Repeat this process for the second lock section.
Using you Dunlop® Straplocks
To connect the two sections of the strap lock together, Push the lock tip on your strap to open the mechanism. Slide the lock section into the end of the strap button while keeping the mechanism open. When the lock is correctly seated you can release the tip. This will lock your strap in place.
Repeat this for the other strap lock.
If you need to remove the strap from your guitar, simply push the lock tip and slide the mechanism apart.

